4 Effective video editing ideas to keep your audience engaged
4 Effective video editing ideas to keep your audience engaged

So, you’ve just recorded some videos ready to go on your school website. Obviously, none of us are professional actors, though living in Hollywood does sound really nice! This means there will likely be long pauses, erms, mic pops and general shuffling around as you set up the recording.
In this blog, I am going to give a basic guide on how to make your videos go from a long block of talking to engaging videos, which will keep your audience enthralled. I will not go into specifics of each software in this blog because everyone uses different software. I will be giving general advice on what you should be looking out for when editing and making videos. Your main priority should always be “is my audience still engaged” because parental engagement is so important for you as a school. If you are bored watching your own video back, chances are the viewer is not enjoying it either! So here are my top tips on how to ensure you are making fun, captivating videos for your school.
Keep the editing simple!
The biggest culprit for this is overly ambiguous transition animations. Steer clear of the star wipes and whirlpool transitions! This leads to your work looking tacky and garish. I would advise that the best transition is the crossfade animation. This is universally accepted as the most professional transition from one segment to the other. The last thing you want to happen is for all your hard work to be overshadowed by poor animation choices!
Another thing to consider with transitions is to not go overboard with them. As a good rule of thumb, if you are just doing a video talking, a transition at the start and at the end will suffice. However, if there are scene changes (like a tour of the school) you could put in a few more transitions.
Long story short, if you watch it back and it reminds you of a top of the pops music video from the ’80s. You should probably make some changes!
Audio Limiters
With audio limiters, they place a fixed limit on how loud your audio can go. Audio limiters are great to prevent things like large P sounds and sudden loud noises that may occur. Nothing is worse than when you are trying to listen to something and you think you have your volume settings just right; then suddenly there is a large spike in the volume that sets your teeth rattling!
Audio limiters are easy to apply. It is simply a case of dragging and dropping on most software, but it is such an important step for a smooth listening experience. They are entirely customisable so if you feel that even with the limiter you don’t have enough of a reduction in noise spikes you can manually adjust the decibel count in the settings menu for the limiter.
Pro tip: Ensure that you have an audio limiter filter applied to all sections of your audio. If there are multiple segments it will only apply the limiter to one at a time.
Natural cuts and pauses
When you are writing it is very difficult to understand where someone is coming from if there is no punctuation or grammar this is because it doesn’t give sight to how the writer wants you to read the particular text and the sentence feels like a marathon which makes you feel breathless upon attempting to read it- and breathe! See what I mean? The same applies to video editing; of course, it is important to make sure that there are no long awkward pauses that slow the content down. But, it is important that you can allow the listener time to process each piece of information. I like to think of it as almost a sweet spot. Let’s talk about how to find it!
Editing to get rid of accidental muck-ups and pauses is a large part of editing videos (as I’m sure you’ll know). Getting rid of those moments where someone walks in asking if you’d like a brew, “No! I am recording!” Thankfully enough, this is very easy to fix because of editing. Just chop it out! Sort of. When you are playing the audio back listen for breaths (as weird as it sounds), this will give you a good gauge of where to cut- leaving half a second to a second makes your content much more digestible. As a best practice, if you are the one doing the recording, either make note of the timestamp when the blemish happened, or make a loud noise like a clap, you will make your life in editing significantly easier.
Separate software for video and audio recording
This may sound like an exercise in futility. “What is the point of having two separate software when one can do the job just fine?” Let me help explain why, when you are editing, it is an absolute lifesaver to have different files for audio and video.
Yes, in some cases it won’t make much difference, and if you are pressed for time and aren’t overly perfectionist (I wish I wasn’t) then you can quite happily get away without splitting them. However if you are recording a news update which you are really happy with, but you fluff your words. Without having to chop and change the video you can simply just trim the audio- happy days!
The Outro
This was obviously just a whistle-stop tour of making video recordings more effective for your audience. However with just a few simple changes such as these, you could turn what might potentially only reach single-digit views, into a highly shared well-loved piece of content! Recording the video is only half of the battle; the other half is you painstakingly removing all the pops, cuts, brew breaks, dog barking, children shouting, spilling hot drinks and more brew breaks- go you.

Related Posts
Ian Richardson
February 6, 2026
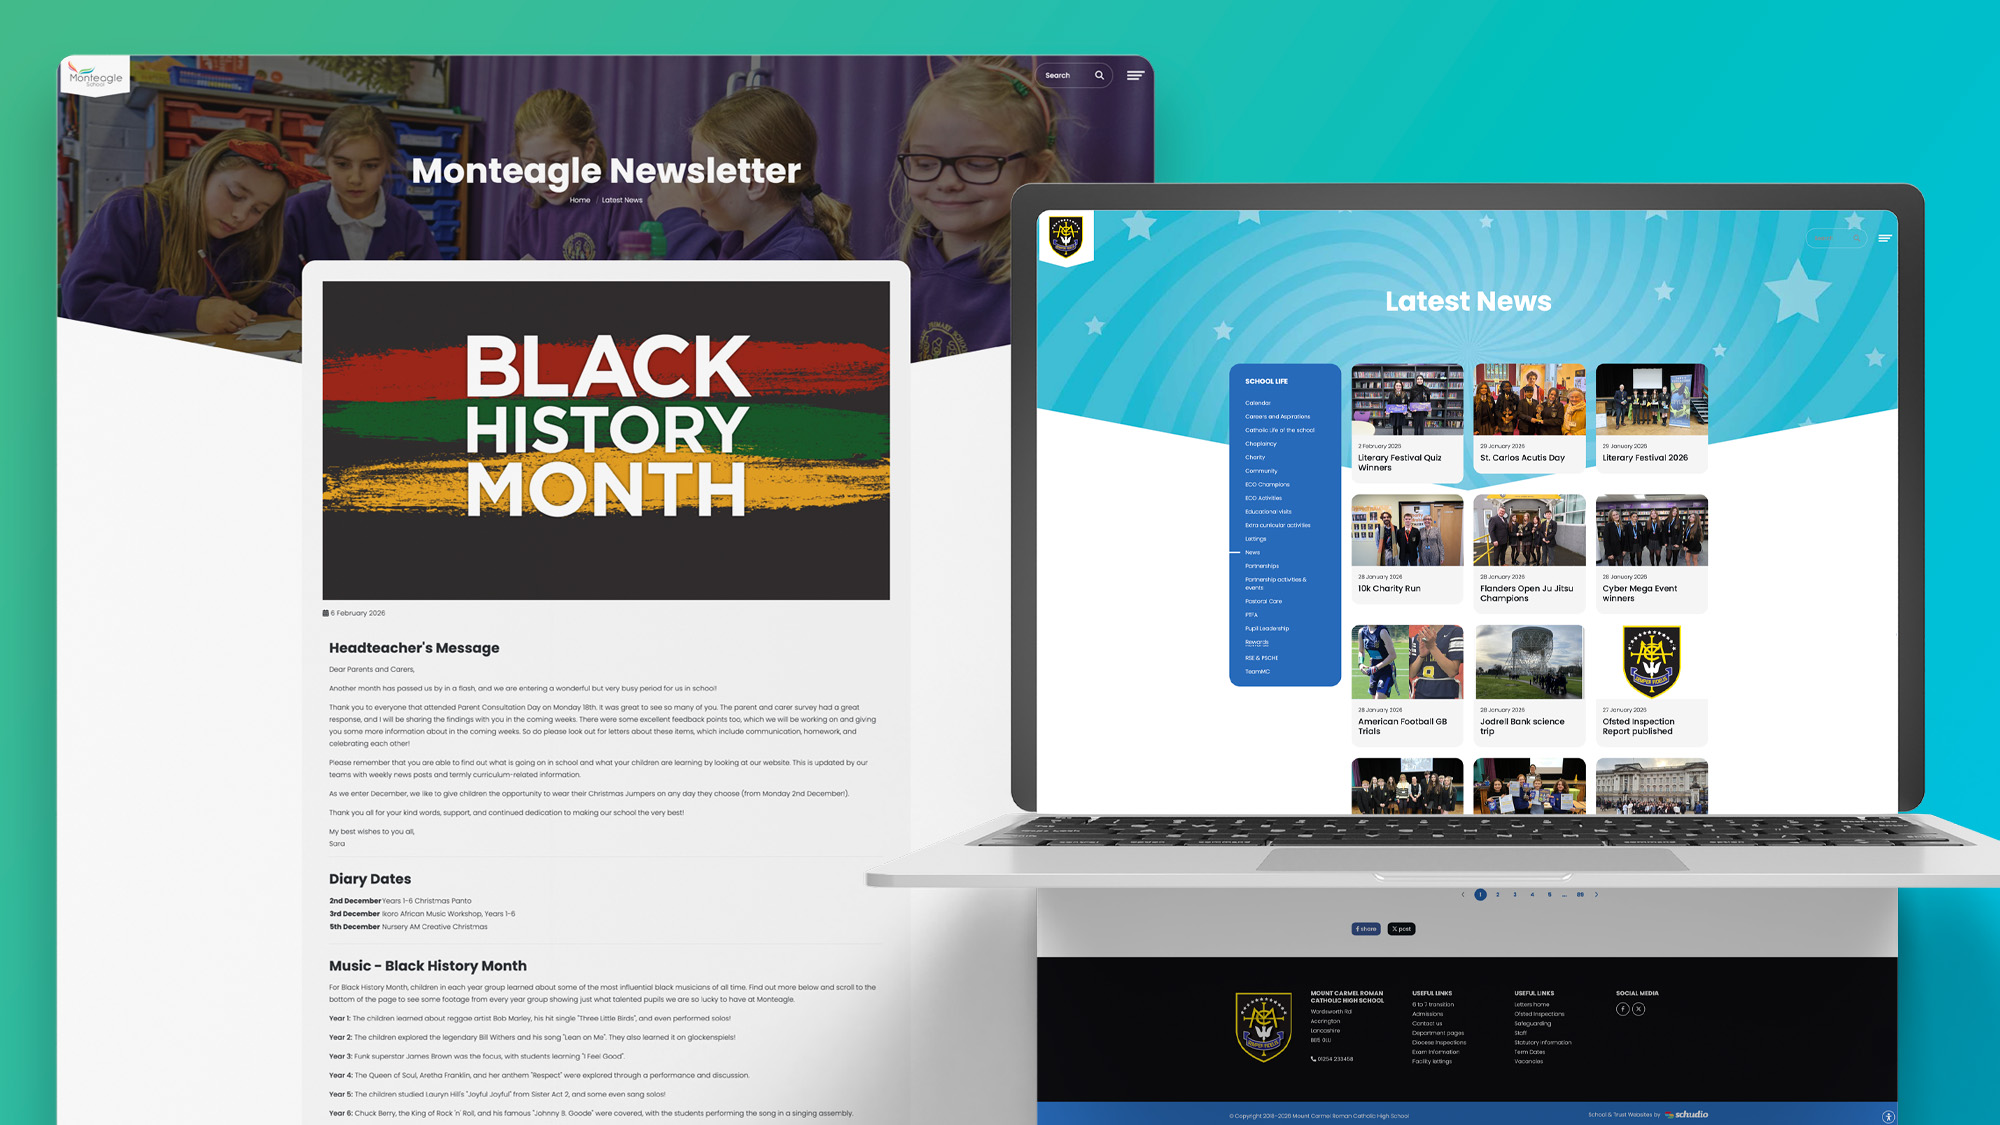
Most schools already produce some form of newsletter. What is changing is how those school ..
Ian Richardson
December 1, 2025
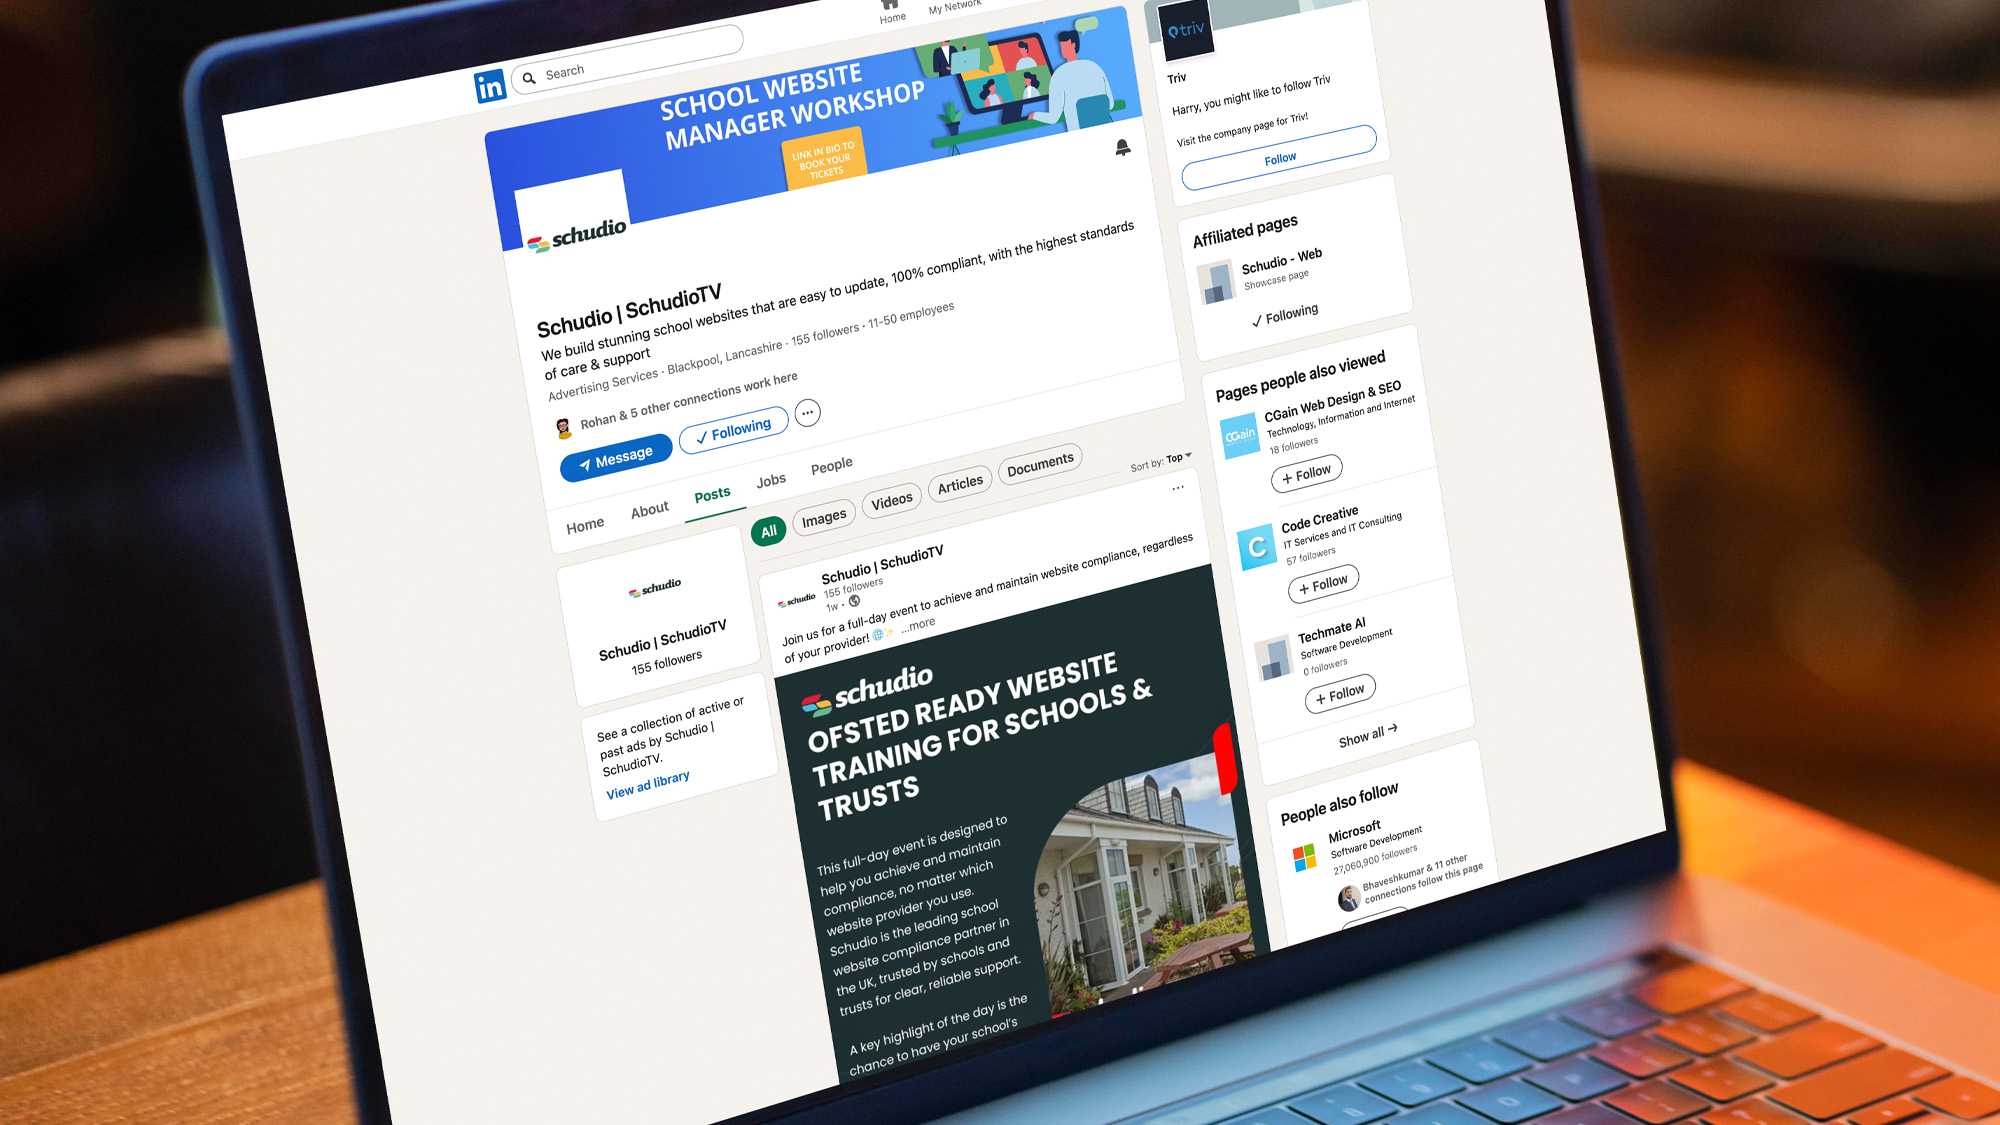
LinkedIn has become one of the most useful places for Trusts to share what they ..
Ian Richardson
September 19, 2025
We’re really excited to share something new that will make it easier for your school ..

Ian Richardson
July 28, 2025
Every now and then, a conversation with a school sums up exactly what so many ..

Ian Richardson
July 15, 2024
Summer is almost upon us, and with the end of the school year in sight, ..

Ian Richardson
January 30, 2024
Struggling to market your school without breaking the bank? Look no further. This no-nonsense article ..


