Have you tried… Creating Box Menus
Have you tried… Creating Box Menus

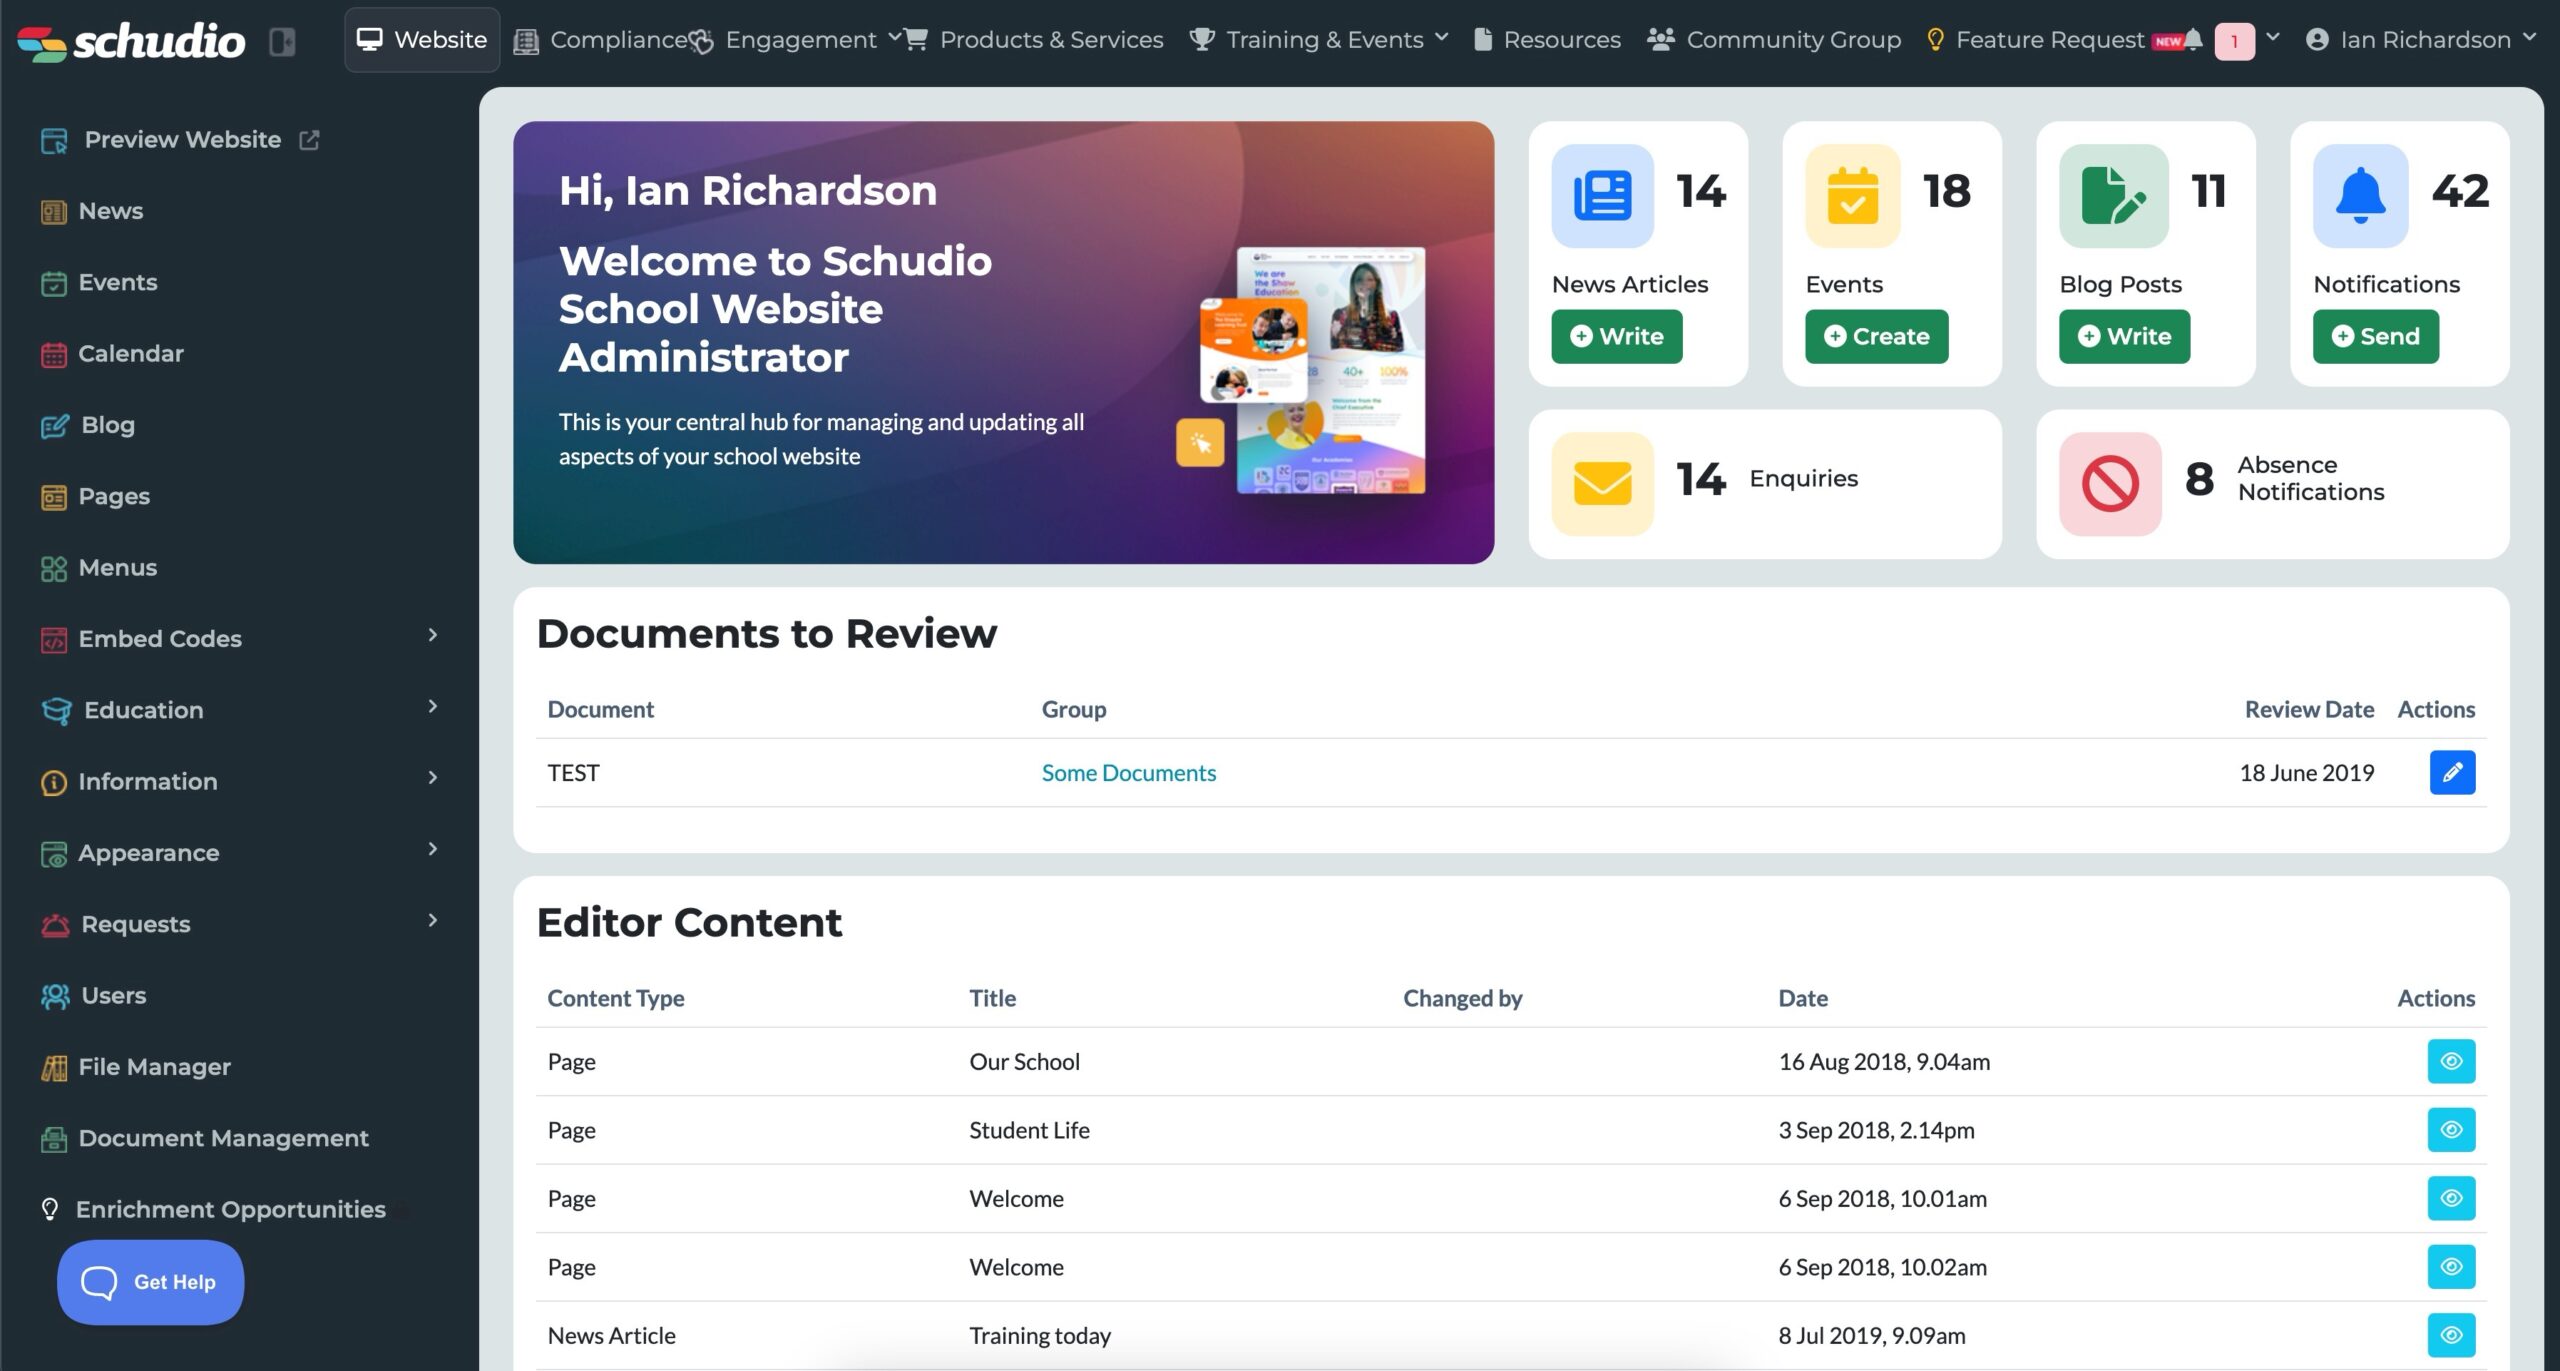
Within the Schudio CMS you get a lot of control over how your website looks and works. One of the really effective features that you can add to your pages is Box Menus.
Box Menus are great for adding more visual elements to your site, incorporating more photos or branding into each page as well as being a working Menu to help users to browse your site effectively.
It’s easy to add new Box Menus to your site and will only take a minute or two to set up.
Once you’ve decided which page you want to add a new Box Menu to, you’ll need to make a note of that page’s identifier. You will find this at the very end of the URL in your browser when viewing the page online.
I’m adding a Box Menu to my Curriculum page and the identifier is ‘curriculum’.
Once you know the identifier for your page, you can get started on making the menu a reality!
You’ll need to go to Appearance > Menus > + Create Menu

Here you’ll type in the name and the identifier for the menu. Ensure you tick the ‘Enabled’ box before clicking save.
You’ve now got a new menu and now you can add your sub-menu items into it to create the boxes.
To create submenu items you just need to click ‘Add New Item’ within the menu and then give that submenu a Title, select which page/module you want the box to link to and then add in your image!

It’s really that simple!
For more ideas on how you can improve your school website with our CMS, check out our other Have You Tried blogposts.